
What are the Drawing Tools?
To draw an actor from scratch, choose Add Actor > Drawing Tool.
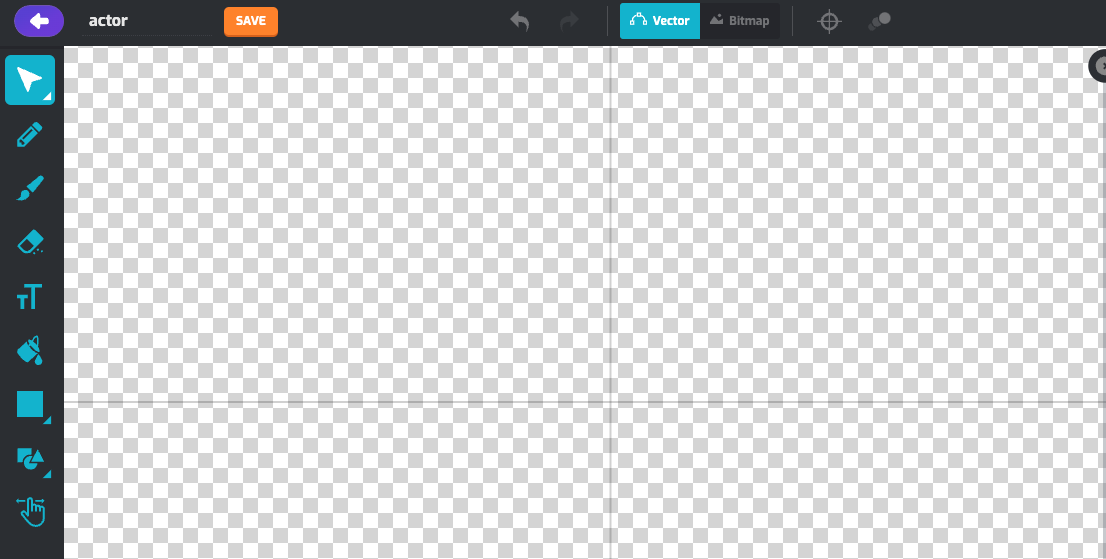
You’ll see a blank canvas appear with a toolbar at the top.

Here’s what each button does, starting from the left to the right.
Undo - Undo the last action
Redo - Redo the last action
Vector / Bitmap Toggle - Switch from the vector editor to the bitmap editor. Switching will perform a conversion of your drawing from one format to another.
Center - Set the center point of the drawing
Onion Tool - Toggle on to show the previous frame at a lower opacity. Similar to the layers of an onion! Hint: This is useful for animations!
There are now two different ways to create drawn Actors. The vector editor, and the bitmap editor. First we will discuss the vector editor.
Vector Editor:
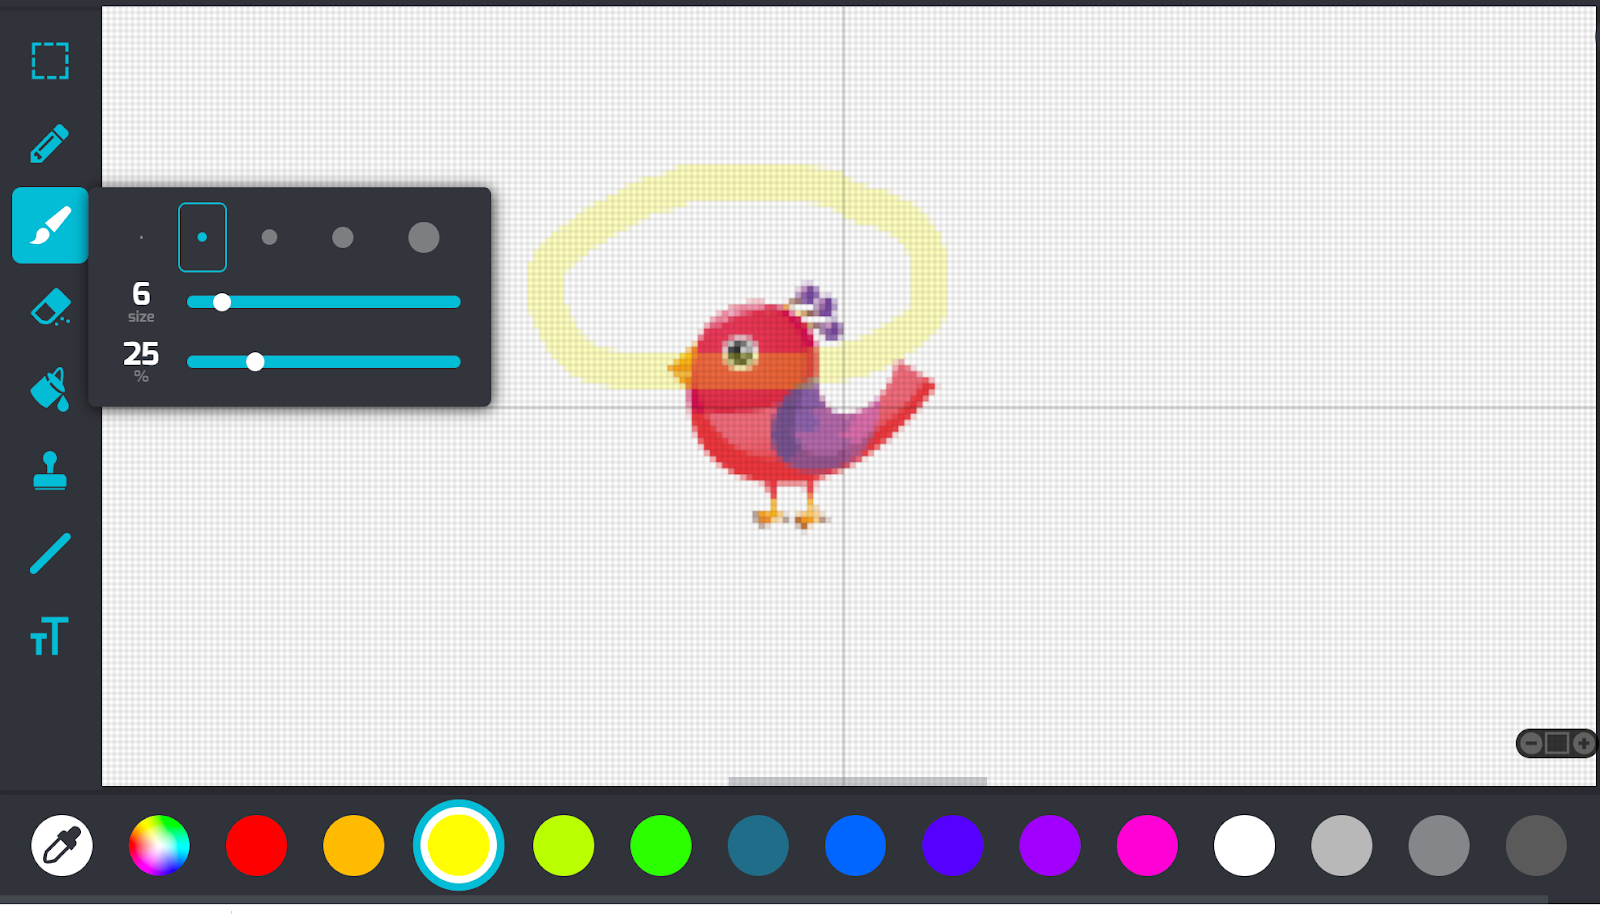
You'll see a blank canvas appear with a list of tools on the left. Click on a tool and a popup appears, where you can control the size of the tool and more (other tool options, like color, are shown at the bottom).
By default, the Drawing Tool starts in Vector Editing mode. In Vector Editing mode, you draw lines and shapes as vectors and can move them around freely with the Selection Tool. If you want to change where a line or shape is on the canvas, you can just click and drag it to a new position! Vector Editing mode is useful for animations where you just want to make slight adjustments to part of your drawing each frame.
Here's what each button does, starting from the top:
Selection - Select and manipulate shapes that you have drawn. You can change their shape, size, color, line width, rotation angle, or change the order in which they are drawn on the screen.
You can also swap to Point Manipulation to move individual points on vector shapes. This gives you more detailed control on what you can draw.
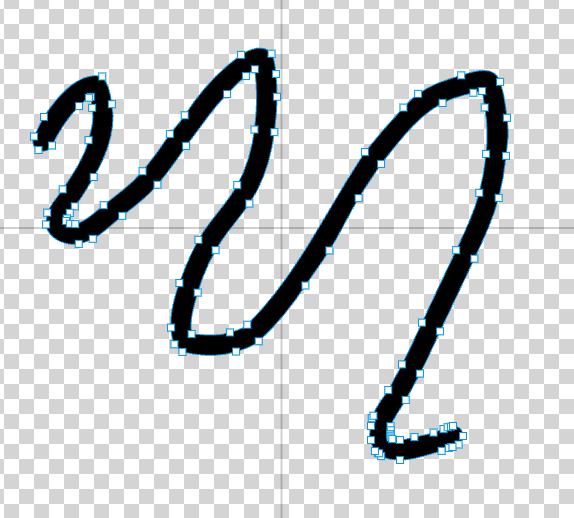
Pencil - Draw a vector path that you can control the thickness and opacity of. The width of the pencil line will always stay the same, even if you move a point on the vector path, so the Pencil Tool is a good fit for drawing precise lines.
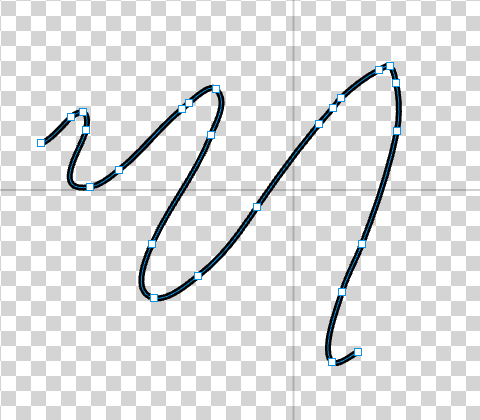
Brush - Draw a brush stroke with no central vector path. The controllable points on a brush stroke are all on the stroke’s outline, so the Brush Tool is more suited for drawing shapes.
Eraser - Erase parts of your drawings you don’t want. In Vector Editing mode, the Eraser Tool can “split” a line or shape into different parts that you can move independently.
Hint: Don't like what you just tried out? You can also undo actions with the Undo button. You can also use the shortcut for Undo, which is CTRL-Z (or Command-Z on Macs).
Text - Write messages, create labels, and more.
Paint Bucket - Fill in shapes and lines that you have created.
Note that in Vector Editing mode, you can only use the Paint Bucket if a single line or shape that you have drawn contains a closed loop. You cannot fill in an area whose outline is drawn by several different lines or brush strokes.
Draw Shape Tool - Draw straight lines, rectangles, and ellipses.
Shapes Library - Click and drag to draw more complicated shapes from a broad selection.
Move Canvas - Click and drag to pan your view of the canvas.
Bitmap Editor:
You'll see a blank canvas appear with a list of tools on the left. Click on a tool and a popup appears, where you can control the size of the tool and more (other tool options, like color, are shown at the bottom).
Here's what each button does, starting from the top:
Selection. Select an element of your drawing. You can then Move, Copy, or Cut it.
Pencil. Leaves a hard-edged trail with an adjustable width.
Paintbrush. A "softer" painting tool, capable of transparency. Great for adding texture or shadows, you can change the width and transparency level.
Eraser. Gets rid of stuff!
Hint: Don't like what you just tried out? You can also undo actions with the Undo button. You can also use the shortcut for Undo, which is CTRL-Z (or Command-Z on Macs).
Paint Bucket. The paint bucket tool "fills" any open areas with the color you've selected.
Stamp. Add stickers to your costume or use them as a starting point for your own designs.
Line and Shapes. Draw straight lines, rectangles, and ellipses.
Text Tool. Write messages, create labels, and more.
Hint: Use the (+) and (-) buttons to zoom in and out to get a closer look at your costumes. You can get close enough to see individual pixels and take fine-grained control of your art.
On the right side, on both the vector and bitmap editors, there is an animation tool. Here you can see all the costumes of your Actor.
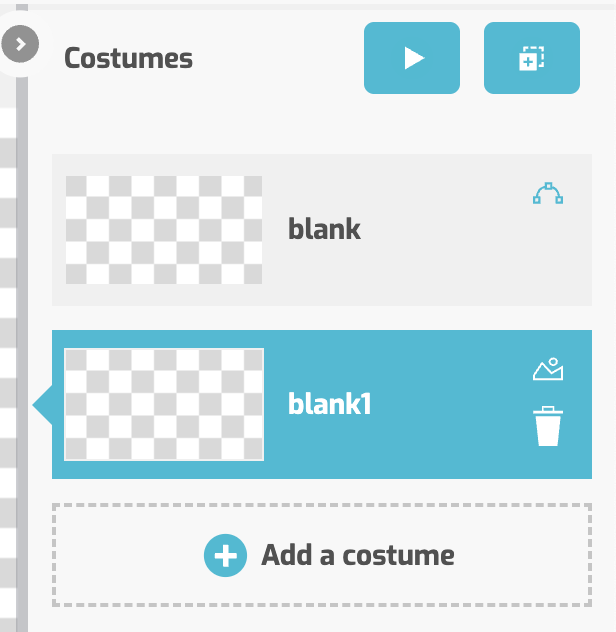
From left to right, then top to bottom, here’s what each button does:
Animation Player - Preview your current actor in motion. This will play all your frames in an example animation.
Duplicate - Duplicate and create a new Costume.
Costume Selector - Select to switch to a Costume you have already created.
Vector or Bitmap Indicator - This is not a selectable button, but this will indicate the format each Costume is.
Bitmap Image

Vector Image

Trash Can - Delete this Costume