
Add or Remove Students for Google Classrooms
Important: When your Tynker classroom is connected to Google Classroom, manage your student roster in Google Classroom first. After making changes, update your Tynker classroom as described below.
Add students
Open your Google Classroom.
Open the class connected to Tynker.
Select the People tab.
Under Students, click the Invite students icon.
Invite the student you want to add.
Have the student accept the invitation.
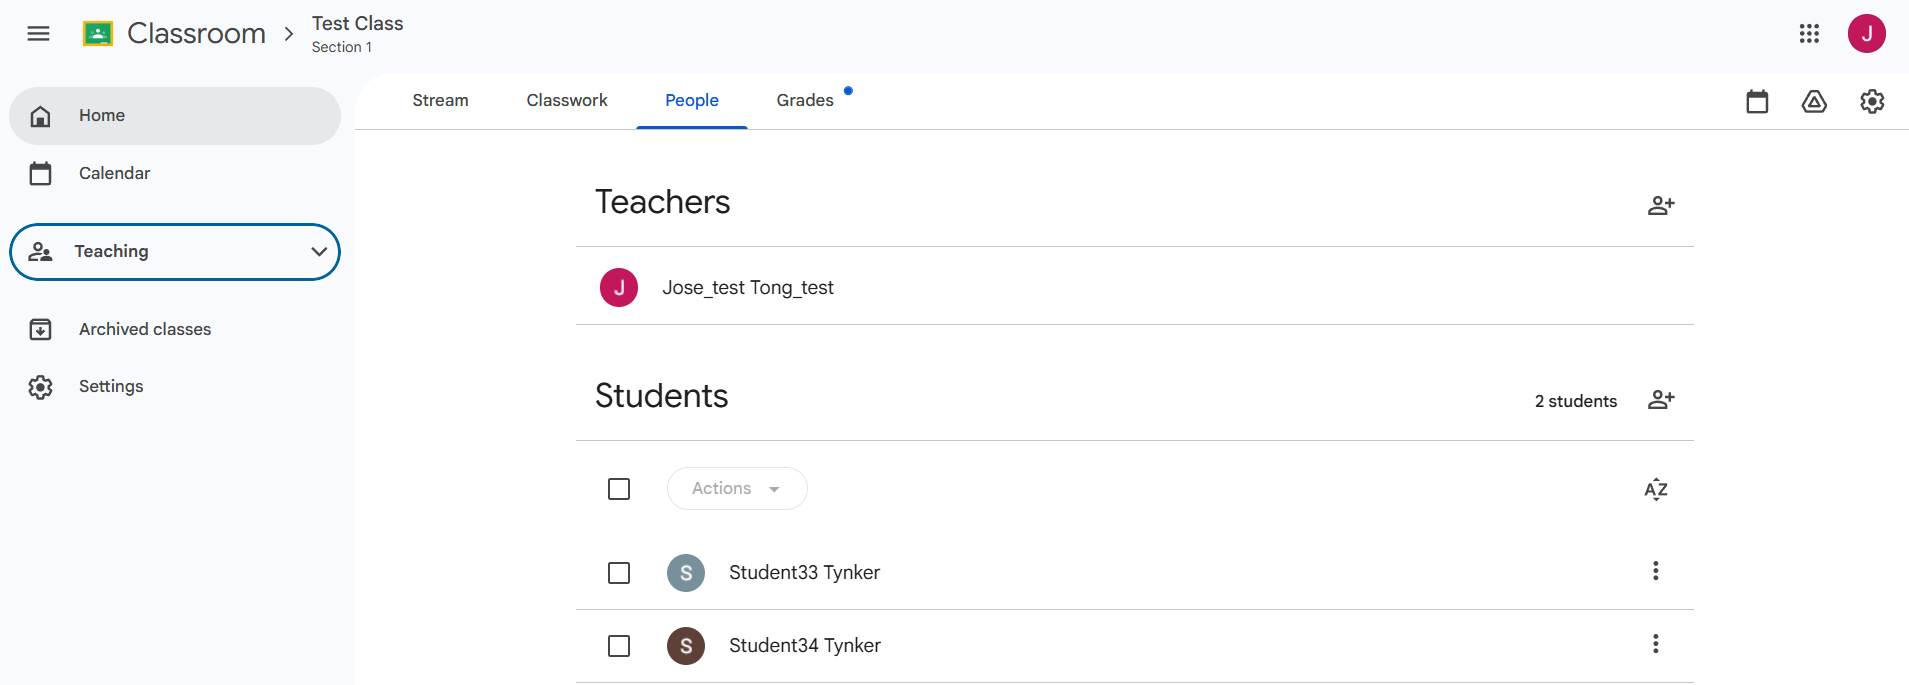
Once the student has accepted the invitation, sync your Google Classroom roster with Tynker.
👉 See [How do I sync my Google Classroom with Tynker?] for instructions.
Remove students
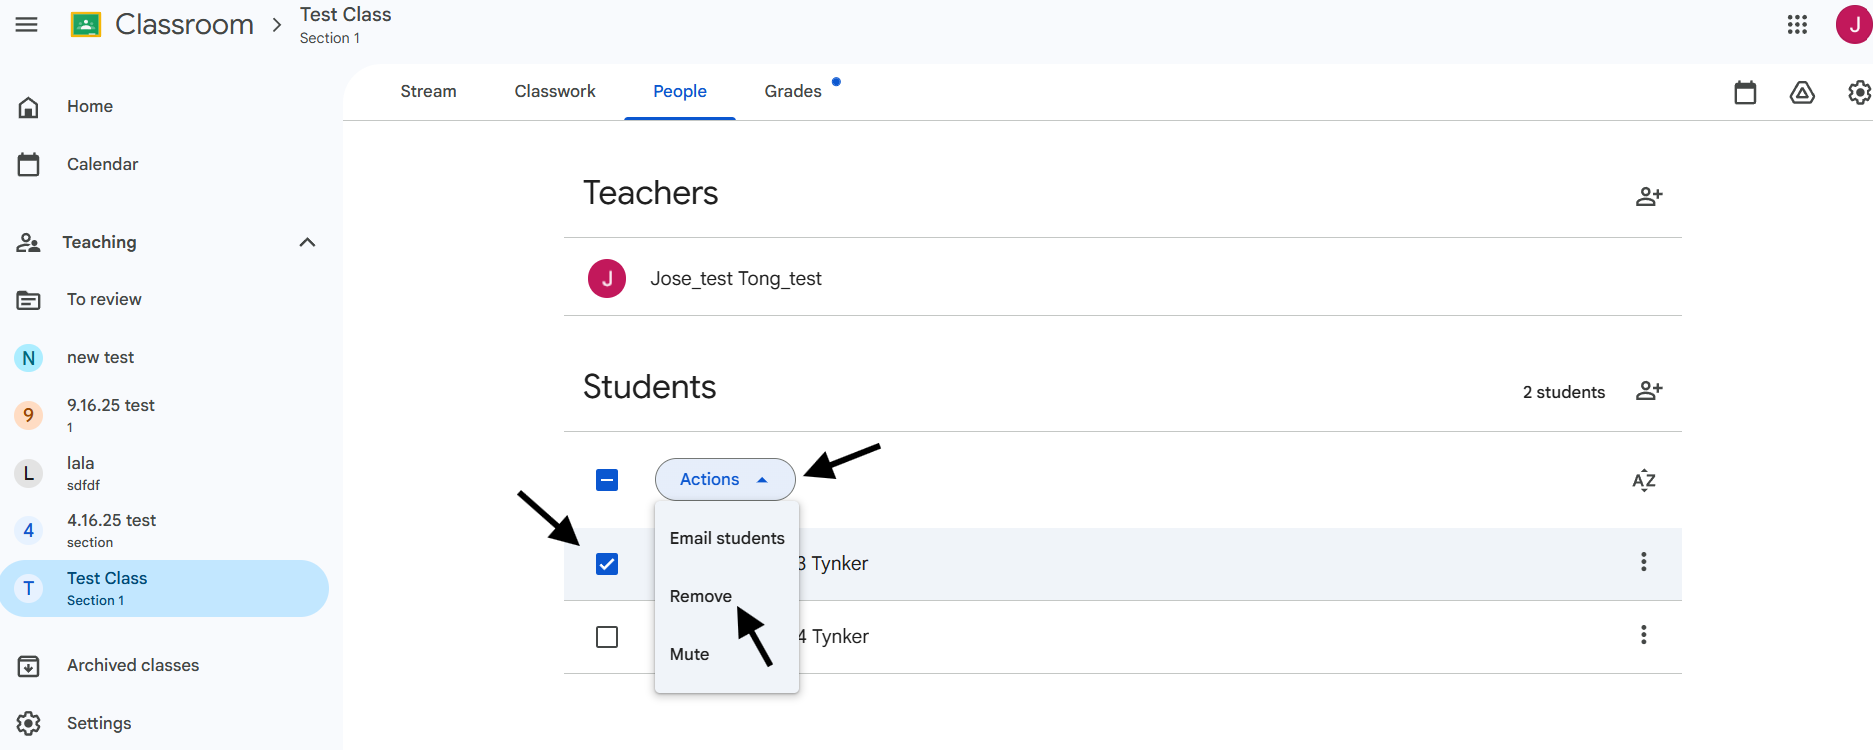
To remove a student from a classroom in your Tynker teacher dashboard, first remove the student from the source of the data sync--Google Classroom, followed by removing the student from the Tynker dashboard.
Steps:
Remove the student from your Google Classroom class.
Open the connected class in your Tynker teacher dashboard.
Go to the Students tab.
Remove the student from the Tynker classroom.
Important:
Important: Removing a student from Google Classroom does not remove them from Tynker automatically. You must also remove the student from the Tynker classroom.