
Step 3: Roster Your Students
Adding students (after the initial setup)
Simplest approach:
In Google Classroom, invite the student to be added, and confirm that they have accepted the invite (same as steps 3 & 4 above in initial setup)
On the teacher’s Tynker dashboard, click “Sync with Google Classroom” within the class, and the student should sync over from GC without needing to manually “Add Students” from the teacher dashboard.
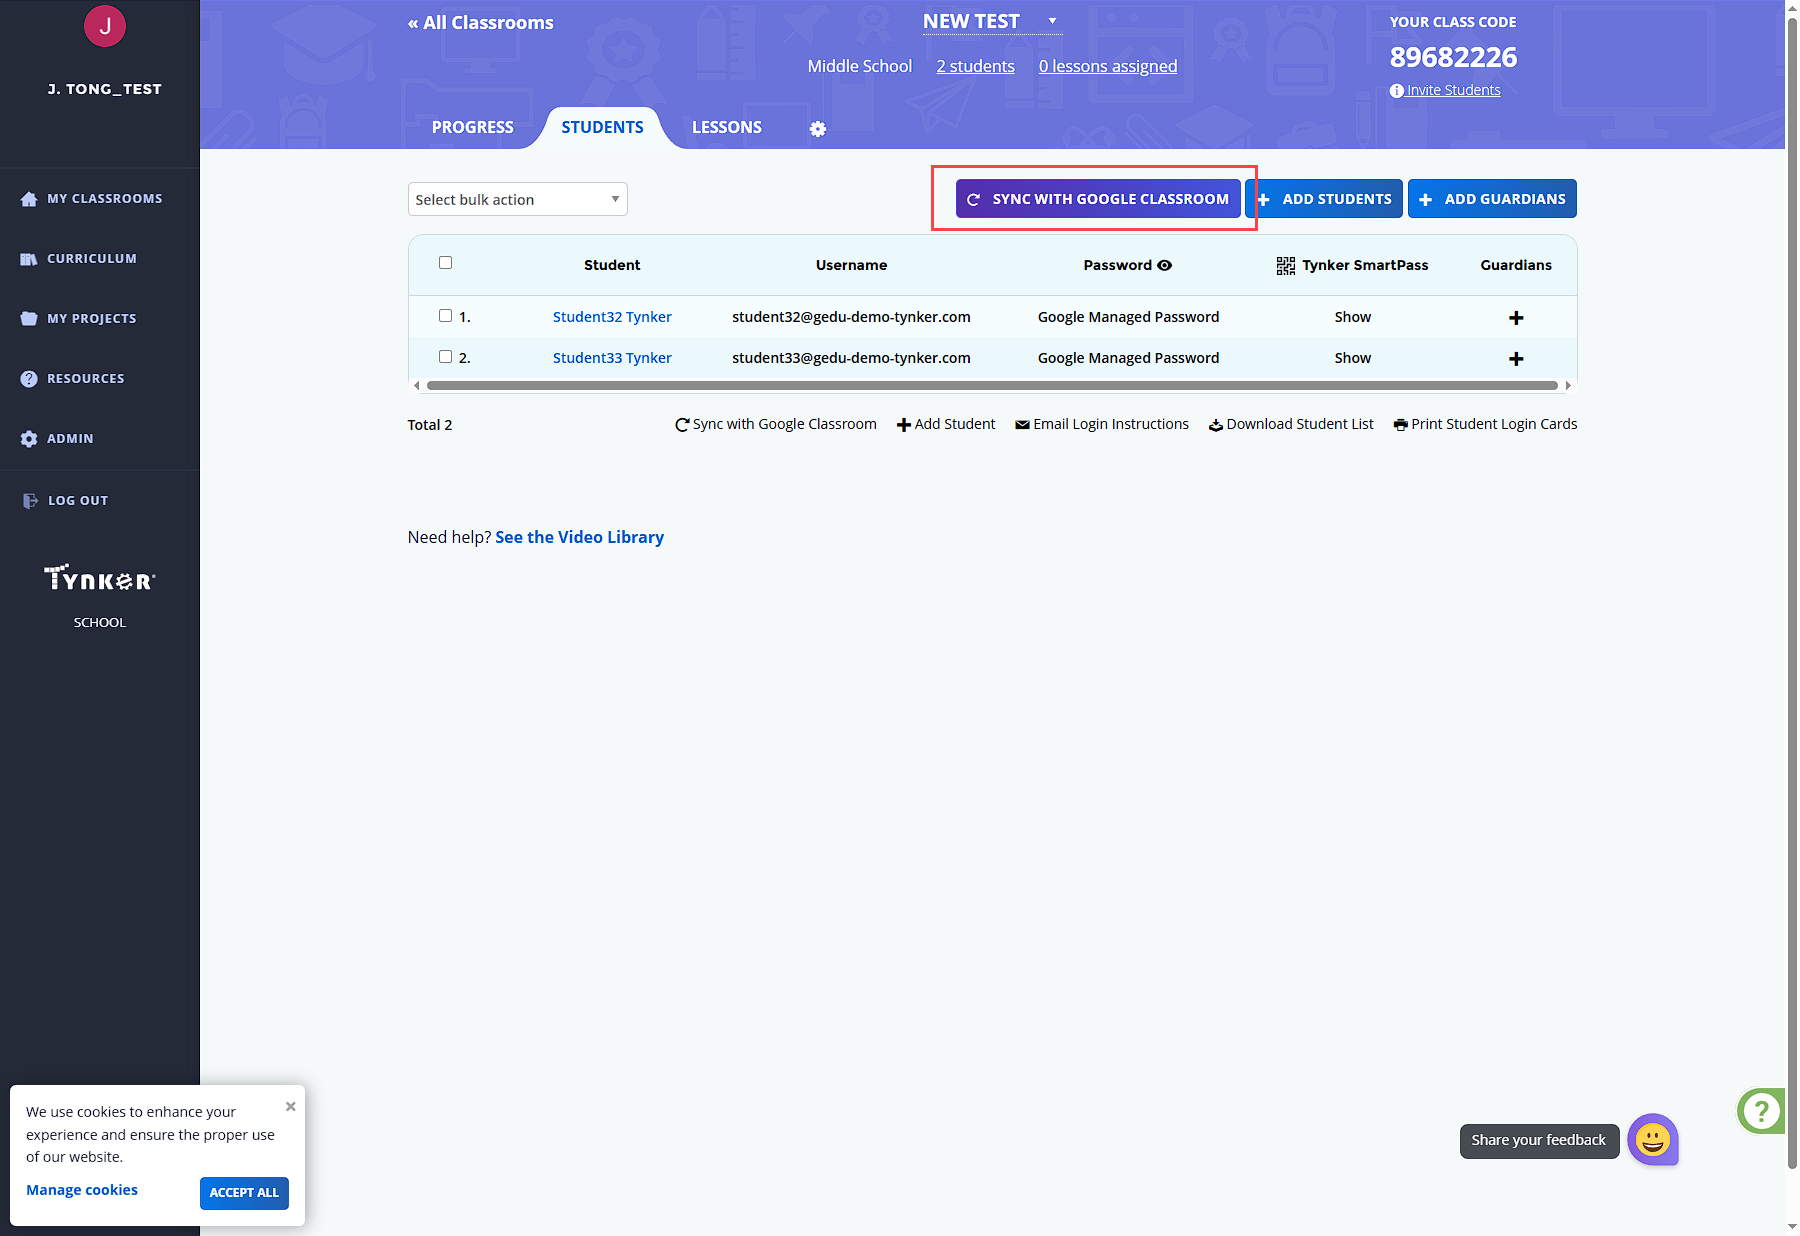
Alternative approach:
On the teacher’s Tynker dashboard, click “Add Students” within the classroom, then select the Google auth option
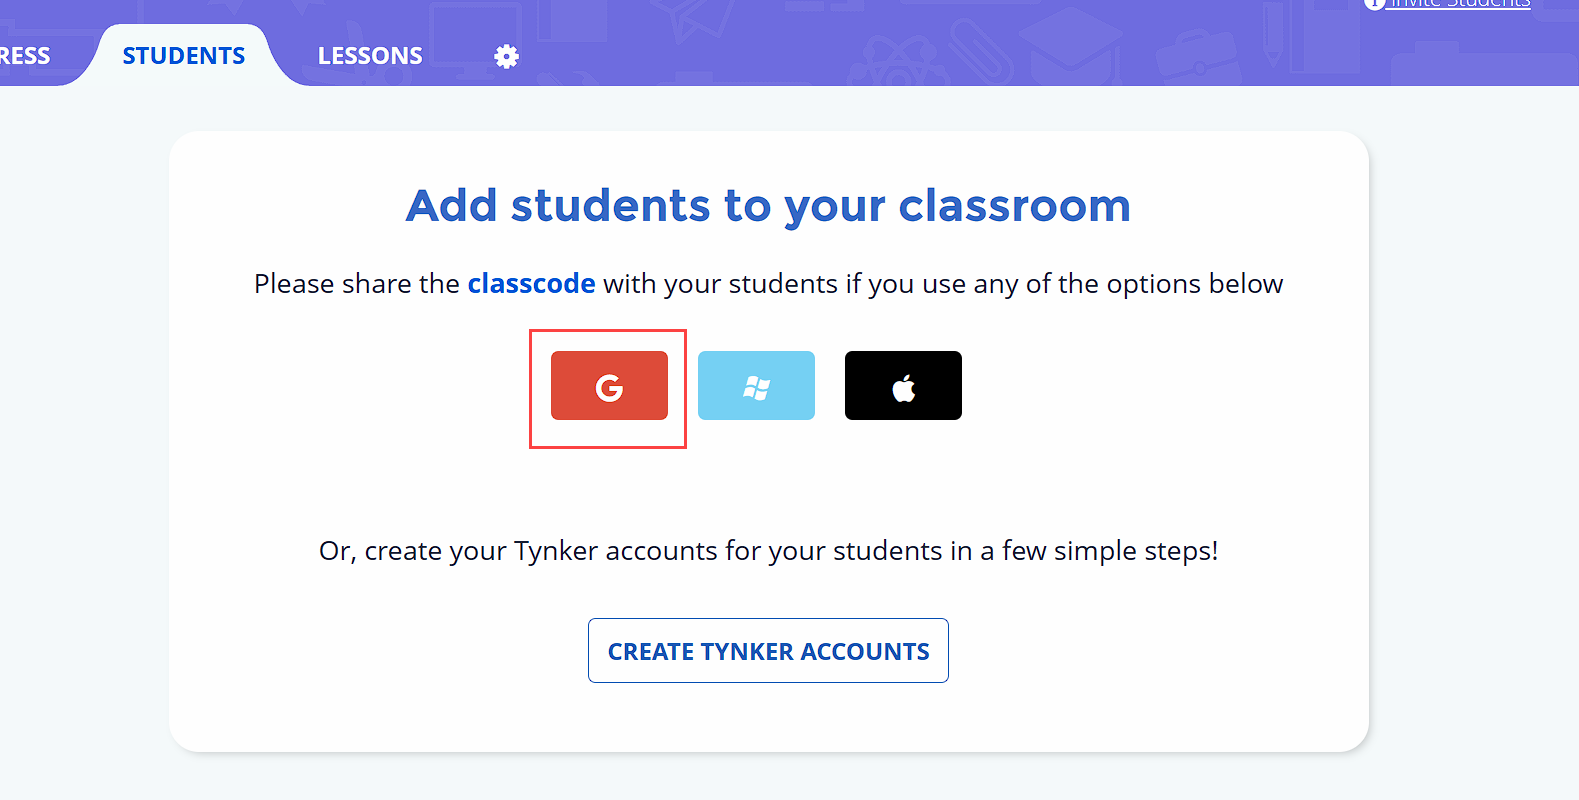
The class code should appear, which can be shared with the student
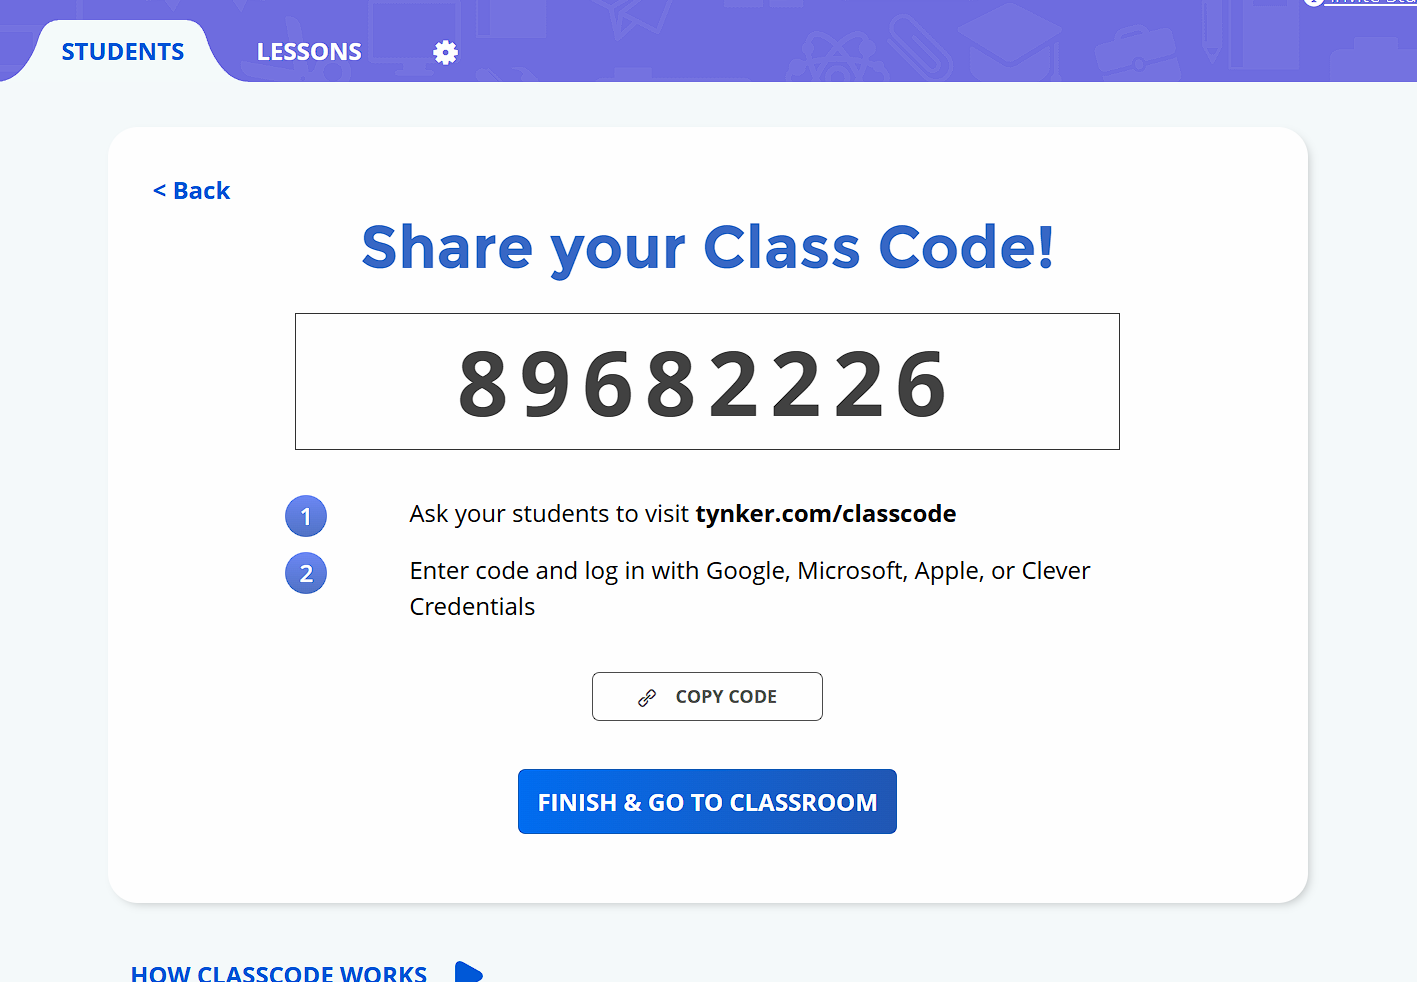
Student enters the code at https://www.tynker.com/auth/classcode
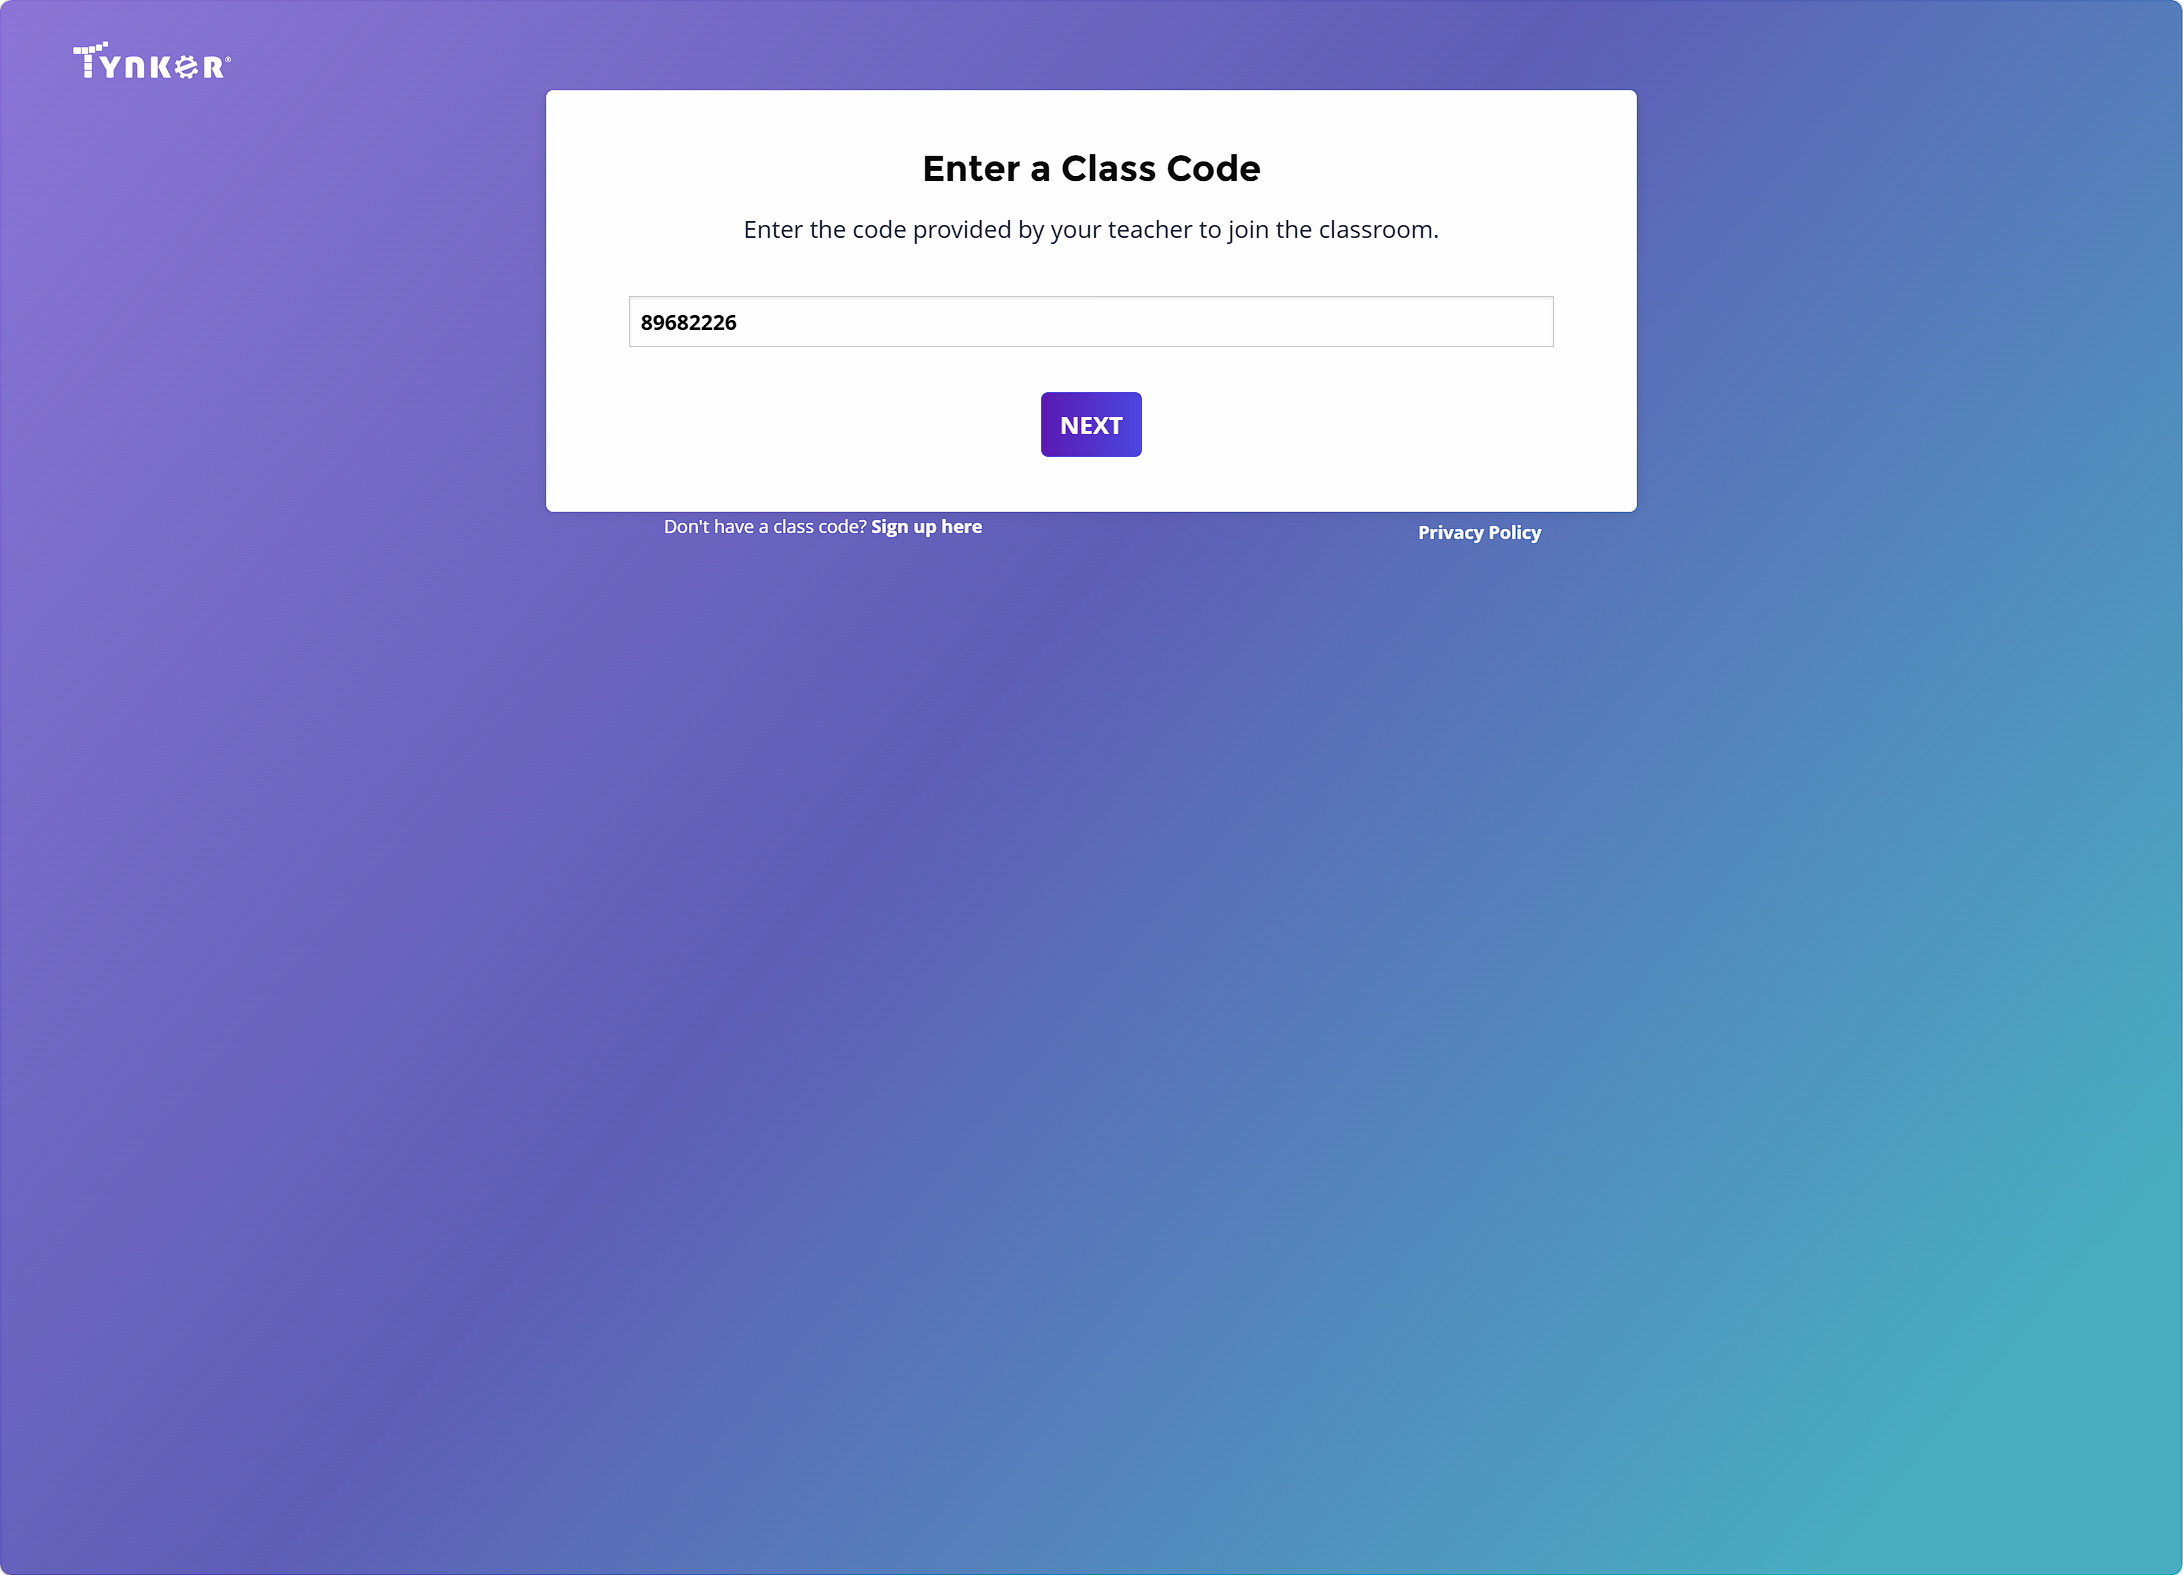
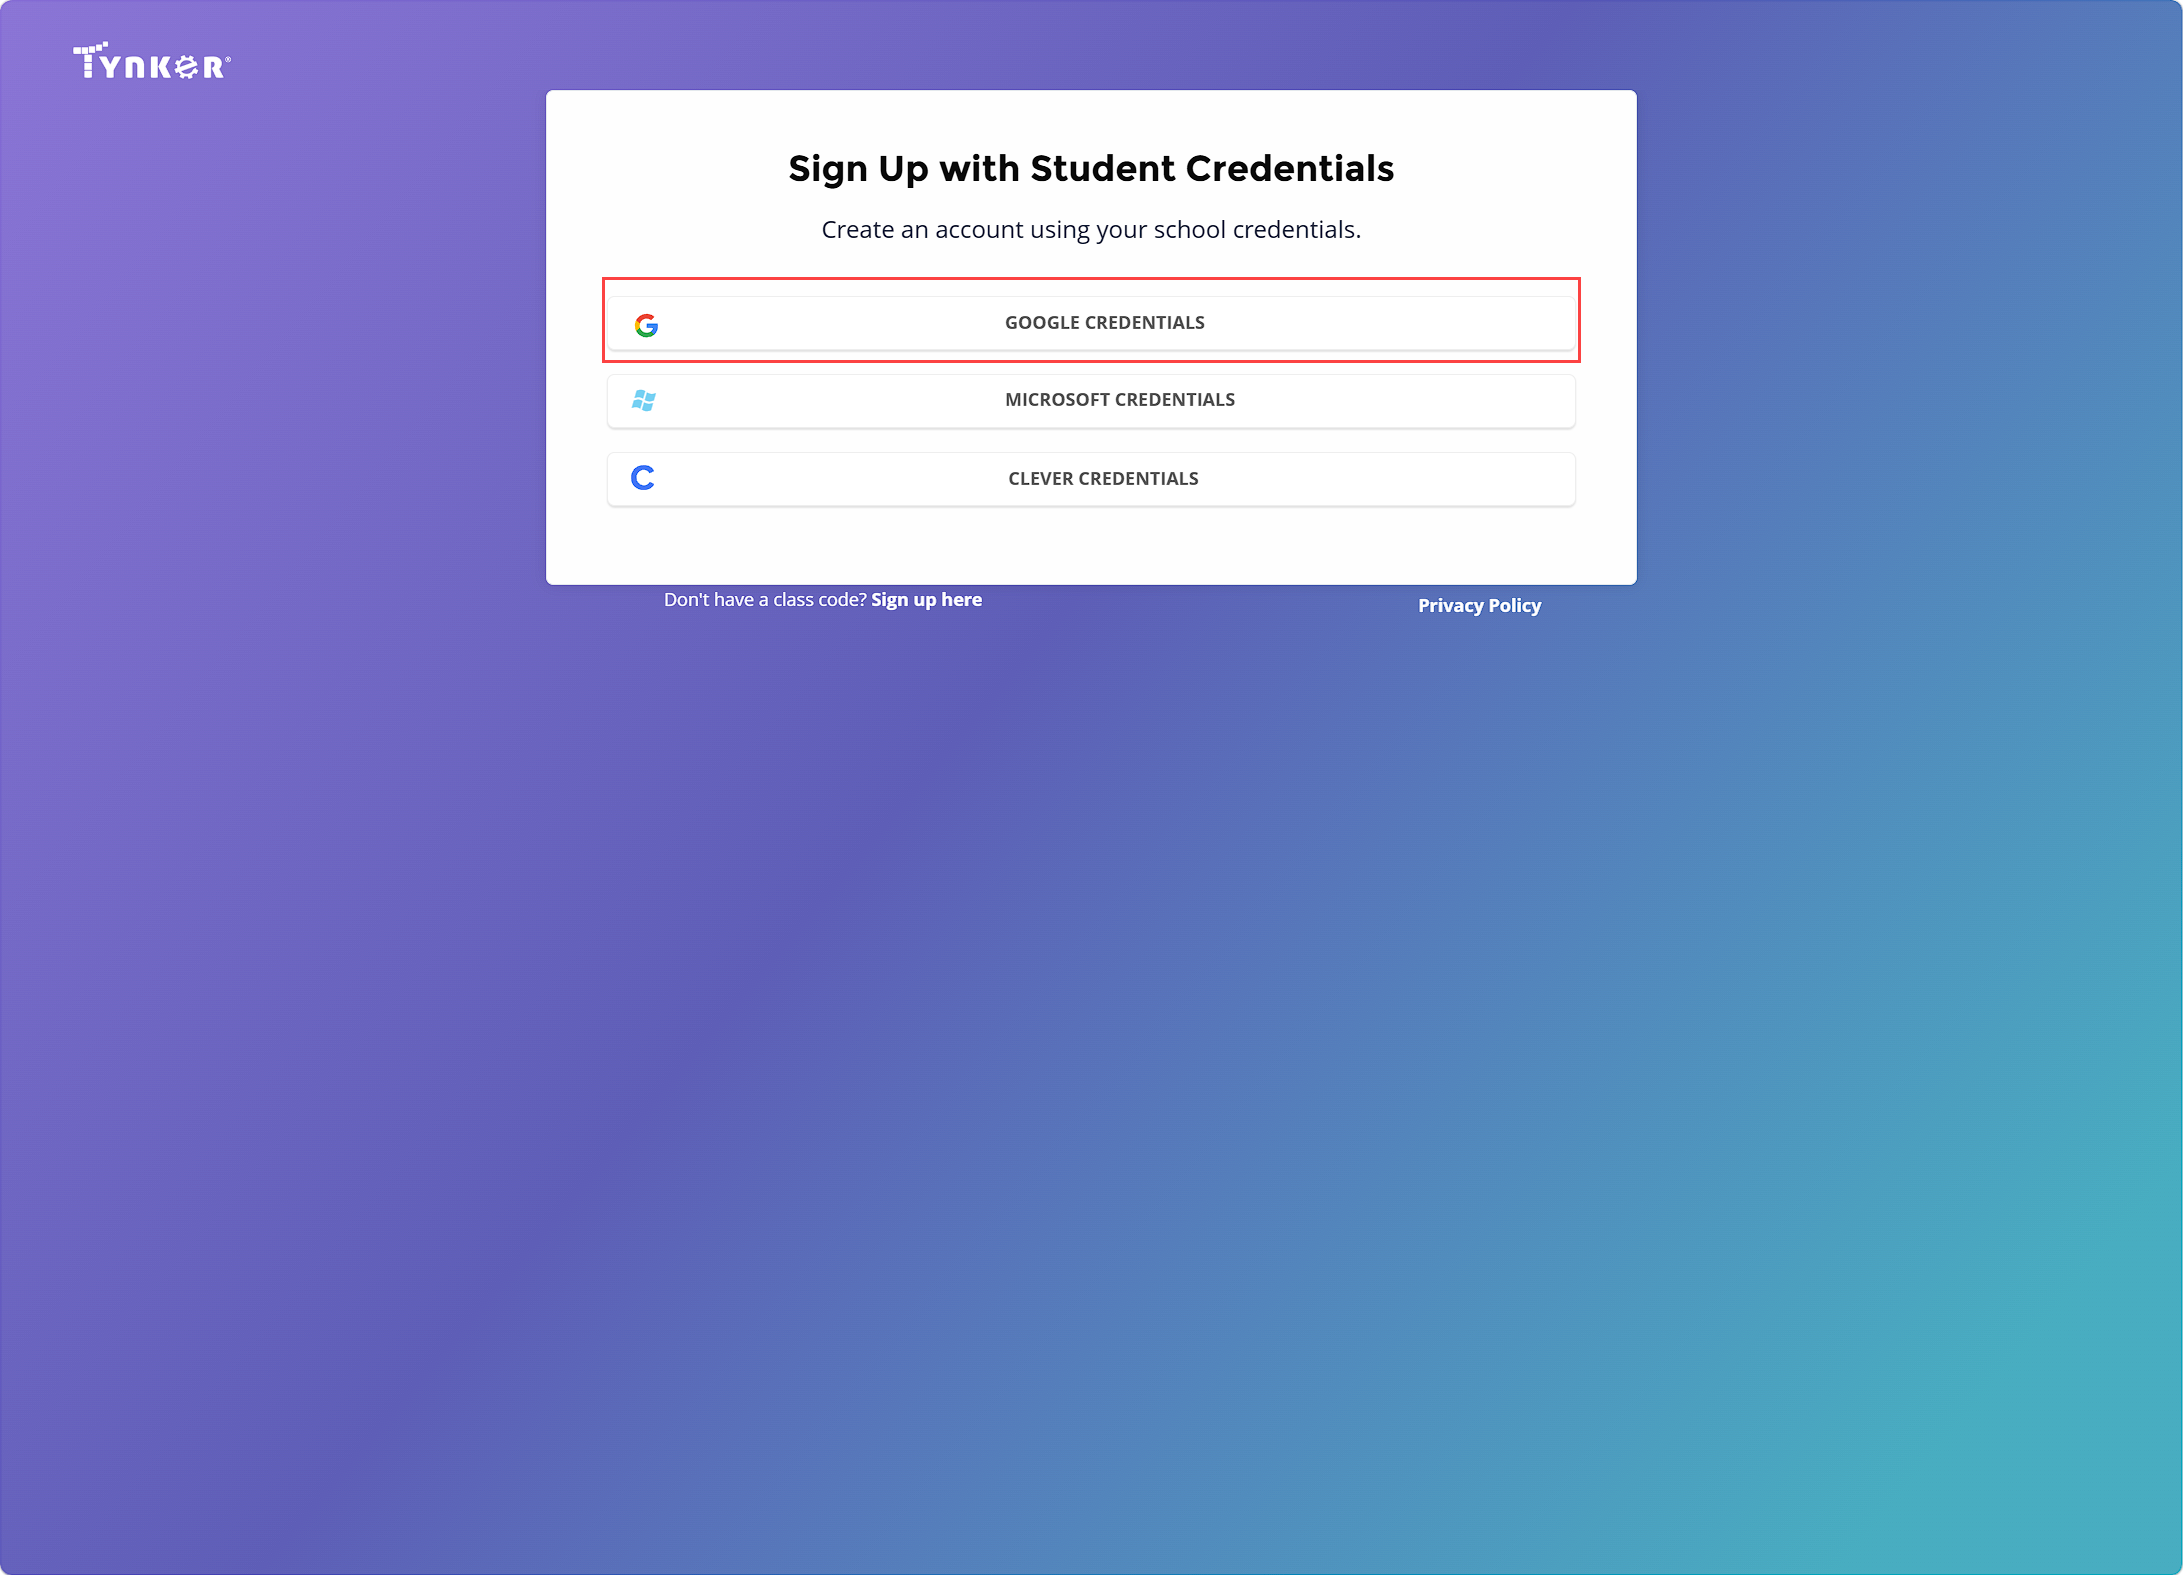
Select Google credentials for login, enter the student's Google credentials, and the student should land on their Tynker dashboard.
At this point, the student appears on the Tynker side but not Google Classroom. The teacher still needs to add the student within GC by inviting the student & confirming they accepted the invite. This will add the student to the GC side and allow the student to see certain message updates within their GC, such as when the teacher assigns lessons from the Tynker teacher dashboard.
Note: The class code should be used once, just to enter the classroom. Once the code is used for the first time, the students only need to log in using their Google credentials at: https://www.tynker.com/#/login/student/